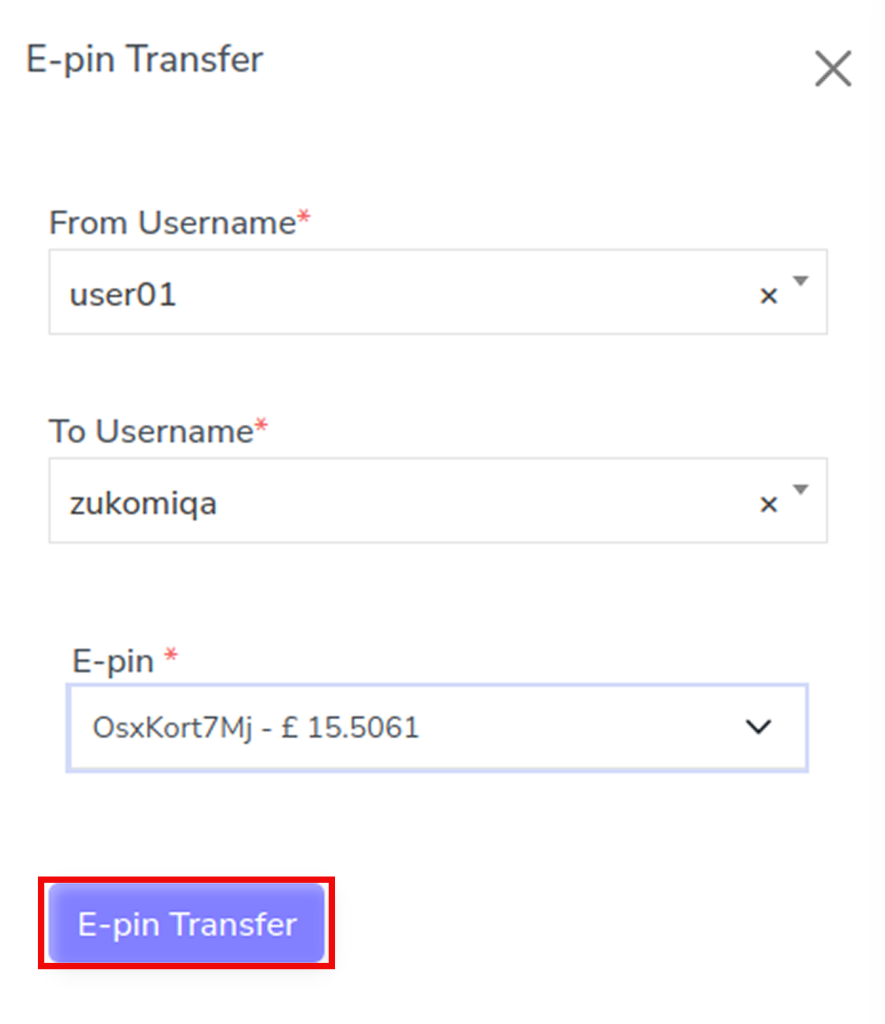
The E-Pin Transfer feature allows administrators to transfer existing E-Pins from one user account to another within the system. This is useful when E-Pins need to be reassigned, shared between members, or moved due to account management requirements. The transfer process is quick and ensures the selected E-Pin is securely assigned to the new user.
Steps to Do an E-Pin Transfer
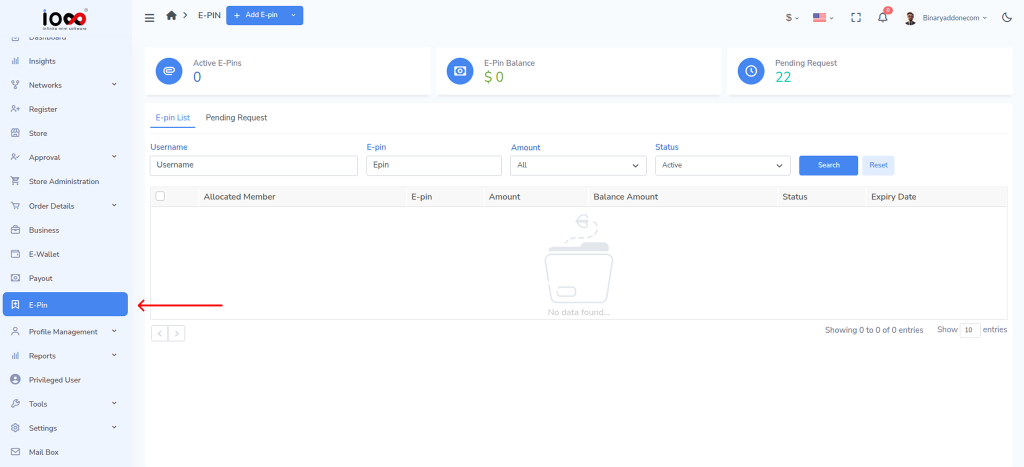
Step 1: To access the E-pin Dashboard, click on E-pin from the left panel.
Step 2: Navigate to the top-left of the screen and click the dropdown next to the Add E-Pin button.
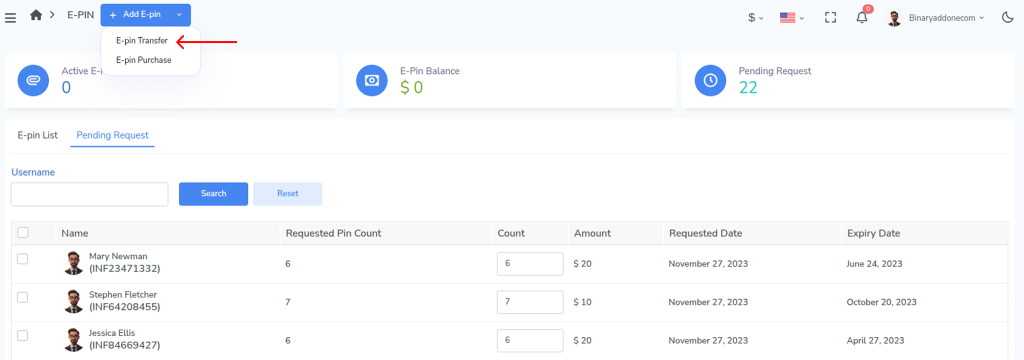
Step 3: Select E-Pin Transfer. The transfer window will open.
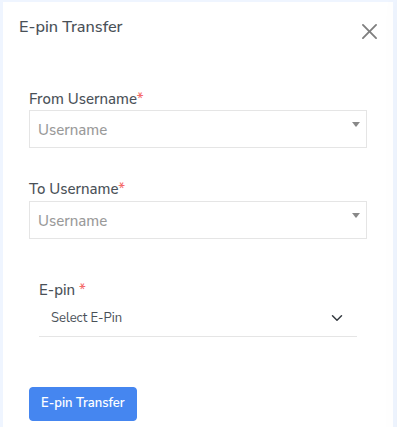
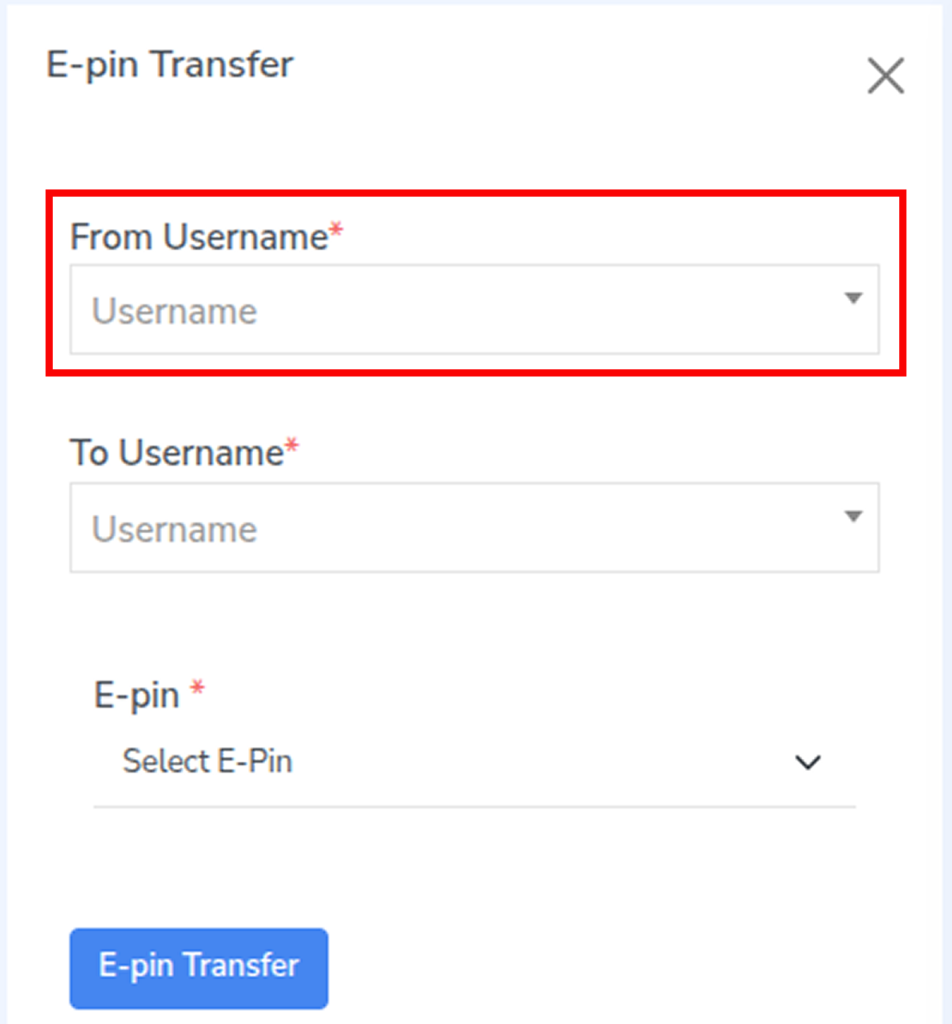
Step 4: In the From Username field, select the user who currently owns the E-Pin.
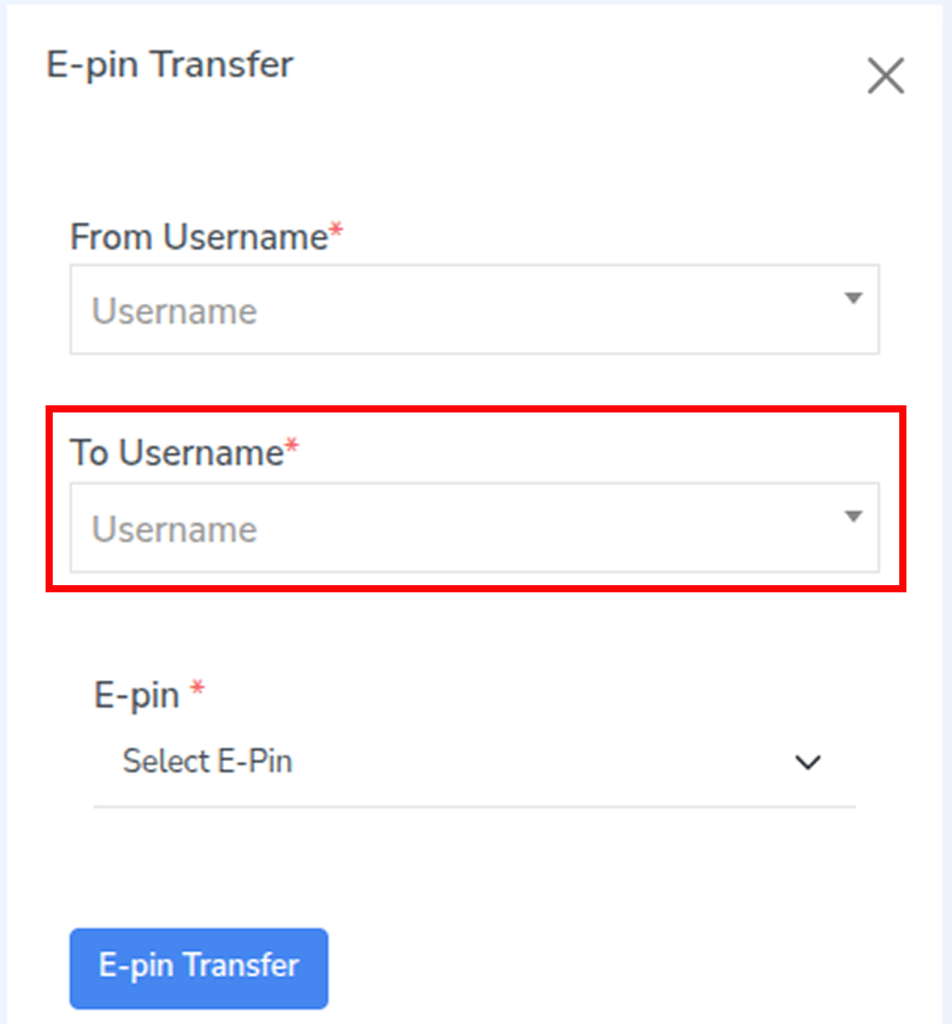
Step 5: In the To Username field, select the user to whom the E-Pin should be transferred.
Step 6: In the E-Pin field, choose the E-Pin you want to transfer.
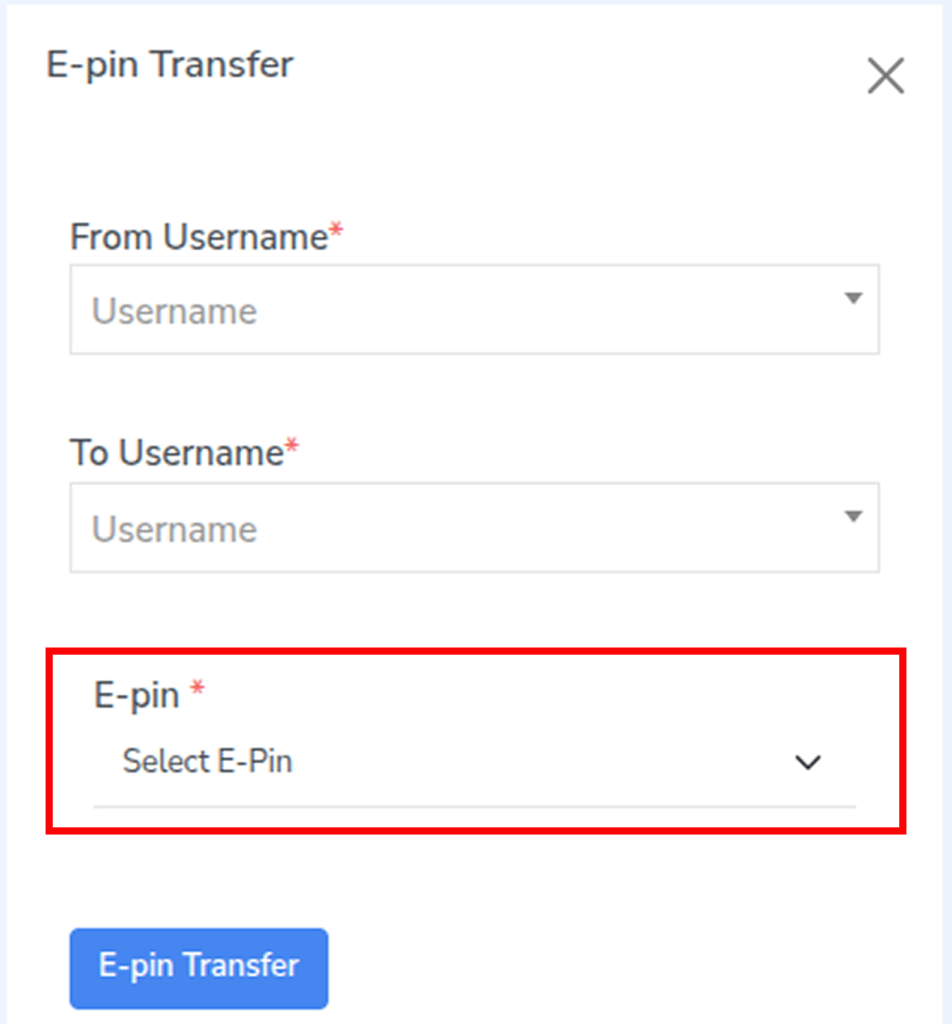
Step 7: Click E-Pin Transfer to complete the transfer.