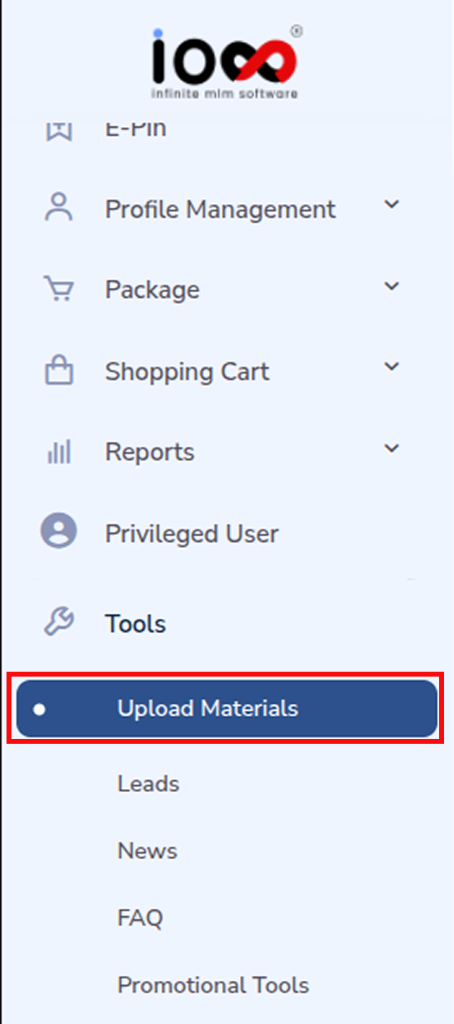
In order to upload materials, go to the Tools section from the left-side menu bar and select Upload Materials to access the materials management page. This section allows you to organize and share important resources such as documents, images, and videos with your network.
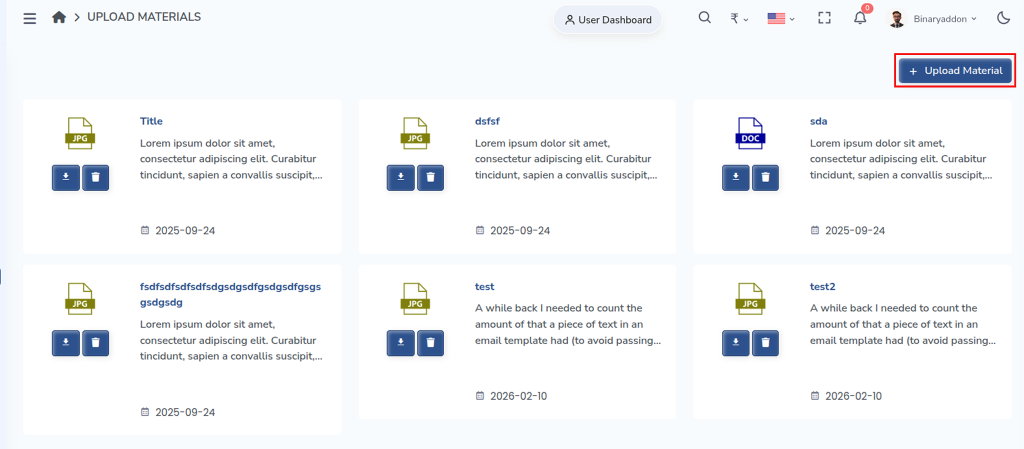
On the Upload Materials page, click on the Upload Material button located at the top right corner. This will open a popup window where you can begin the upload process.
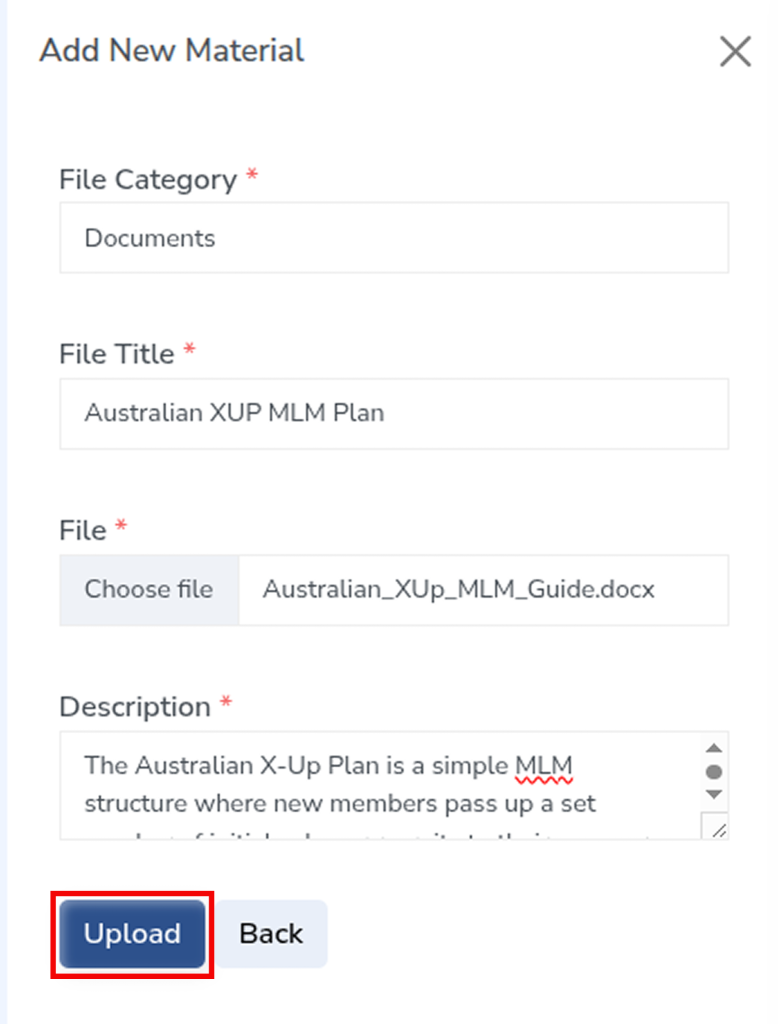
In the popup, choose the appropriate File Category from the dropdown menu. You can select from options like Documents, Images, or Videos depending on the type of file you want to upload. Selecting the correct category helps in better organization and easy access later.
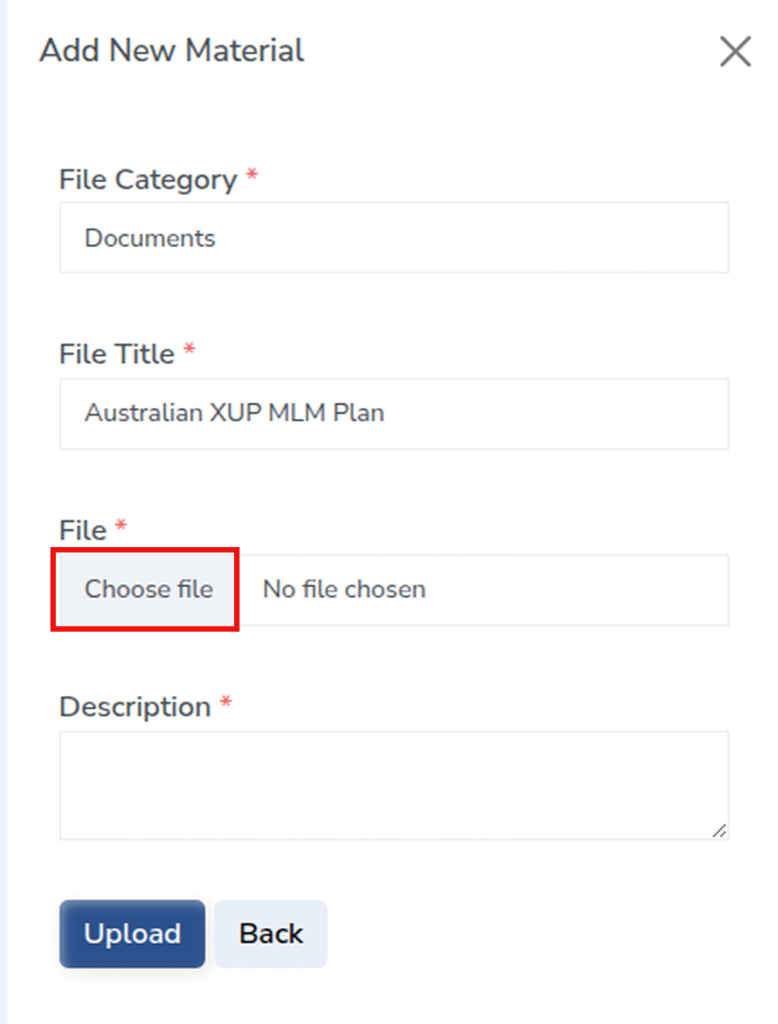
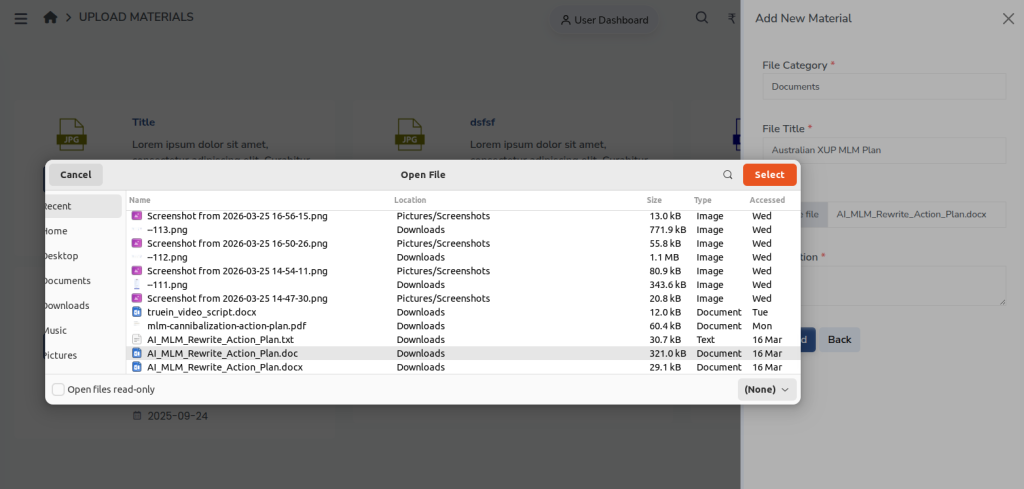
Next, enter a suitable File Title that clearly represents the content of the file. Then, click on Choose File to browse and select the file from your system.
After selecting the file, provide a brief Description of the material (up to 250 characters). This helps users understand the purpose or content of the file at a glance.
Once all the details are filled in, click the Upload button to successfully add the material to the system. The uploaded file will now be available in the Upload Materials section for easy access and sharing.