Banner invites are a visually engaging way to promote your MLM business and attract potential prospects. Unlike text-based invites, banners combine design, messaging, and clickable links to create a more impactful outreach experience. With MLM software, you can easily create, upload, and manage banner invites, helping you drive more attention, clicks, and conversions across your network.
Flow: How to Set Banner Invites in MLM Software?
Step 1: Access Promotional Tools
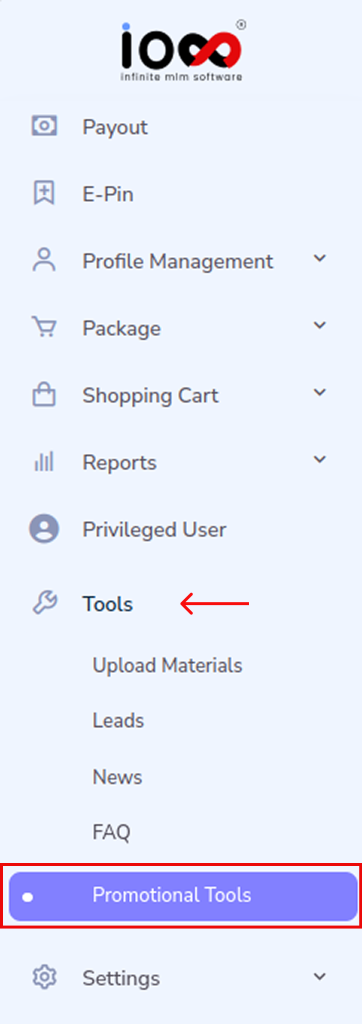
Start by navigating to the main dashboard. Go to Tools and select Promotional Tools from the dropdown menu. This section contains all the resources needed to create and manage marketing content for your network.
Step 2: Open the Banner Invites Module
Within the Promotional Tools window, locate and click on Banner Invites. This is where you can create, store, and manage invitation messages used for outreach and recruitment.
Step 3: Add a New Banner Invite
Click on the “Add Banner Invite” button. A new pop-up window will appear, allowing you to create a fresh invite message.

Step 4: Enter Banner Name
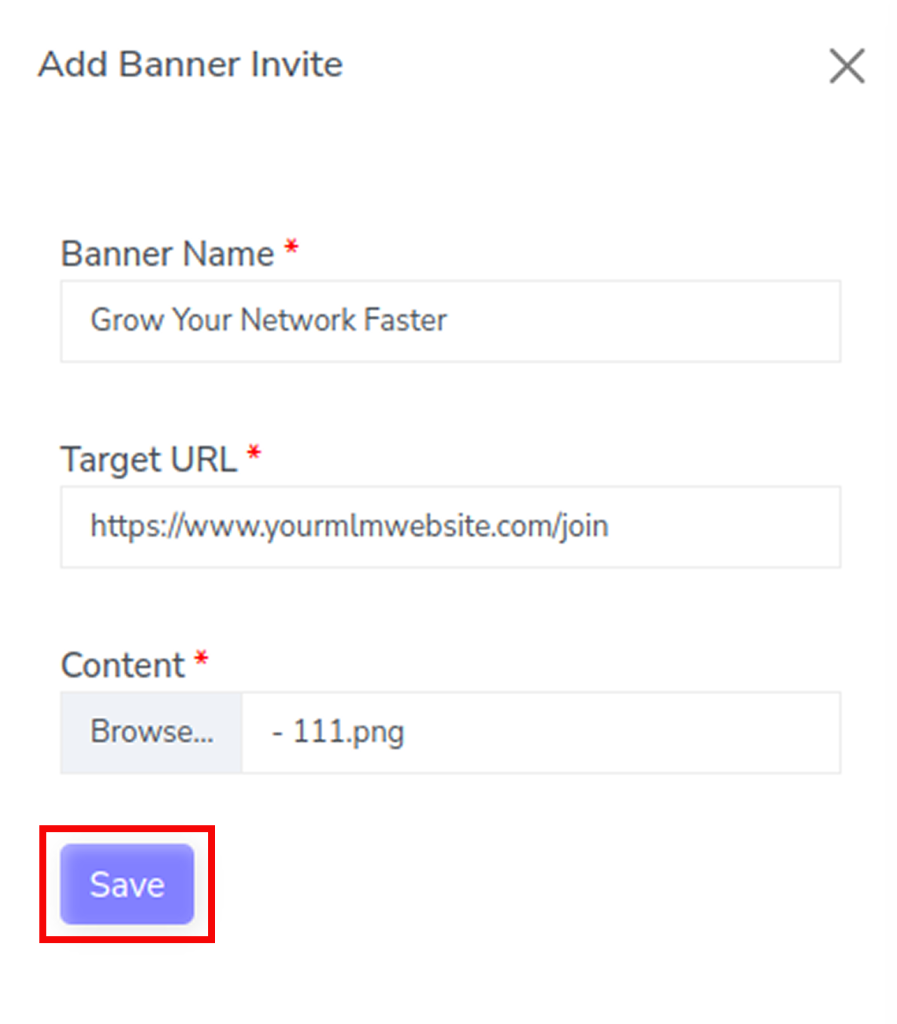
Provide a Banner Name to easily identify and manage your banner later. Choose a name that reflects the purpose or campaign of the invite.
Step 5: Add Target URL
Enter the Target URL, which is the destination link users will be redirected to when they click on the banner. This could be a signup page, product page, or landing page.
Step 6: Upload Banner Content
Click on the browse/upload option to upload your banner image or creative. Ensure the banner is clear, visually appealing, and aligned with your campaign message.
Step 7: Save the Banner Invite
After filling in all the required details, click on the Save button to store your banner invite.
Step 8: View and Manage Saved Invites
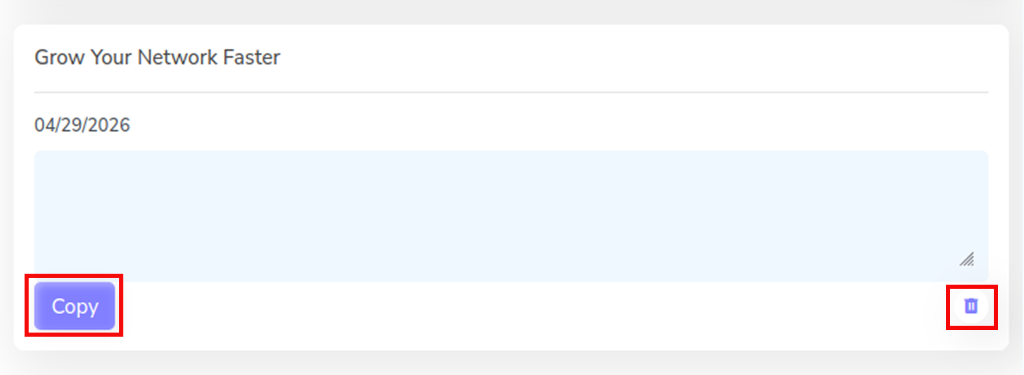
After saving, your invite will appear in the Banner Invites list. From here, you can:
- Copy the banner or its link for sharing
- Delete banners that are no longer needed