Setting up autoresponders helps you automate communication with users, ensuring timely engagement without manual effort. Follow the steps below to create one:
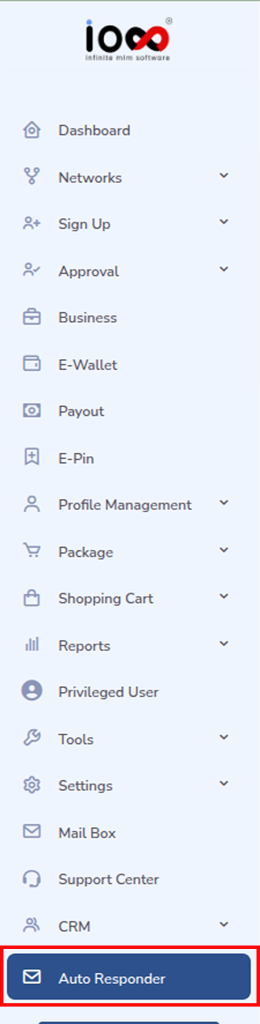
Step 1: Navigate to Autoresponder Section
Log in to your MLM software dashboard. From the left-side menu bar, locate and click on the “Autoresponder” option. This will take you to the autoresponder management page where all existing automated messages are listed.
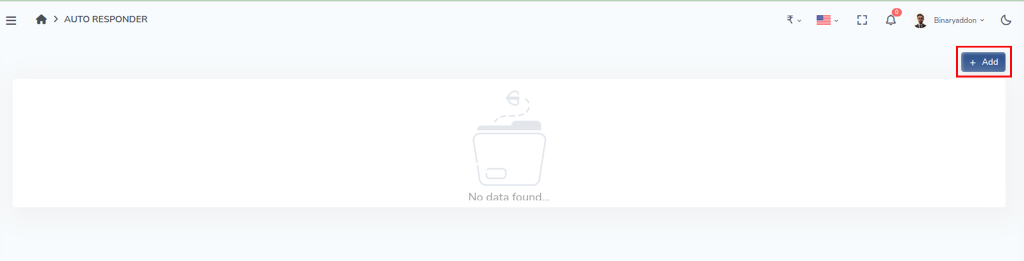
Step 2: Click on “Add”
Inside the autoresponder section, find and click the “Add” button. This action will open a new configuration window where you can create a fresh autoresponder.
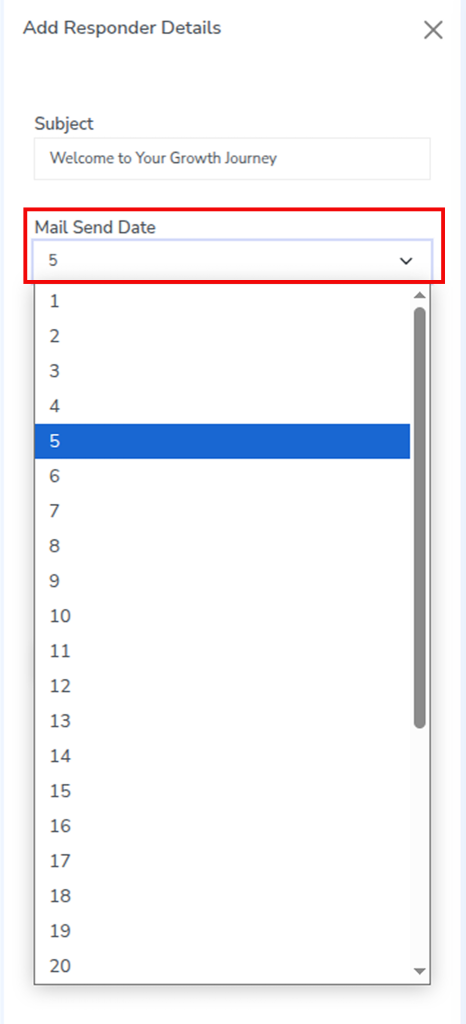
Step 3: Enter Subject Line
In the pop-up window, start by entering a subject line for your email.
Make sure the subject is clear, engaging, and relevant, as this is the first thing recipients will see.
Step 4: Select Mail Sending Date
Next, choose the mail sending date from the dropdown menu.
This determines when the autoresponder email will be triggered.
Step 5: Draft Your Message
Now, compose your message in the editor provided.
You’ll have access to a full formatting toolbar that allows you to:
- Change font type and size
- Apply bold, italics, or underline
- Add links or structured content
Make sure your message is clear, personalized, and aligned with your communication goal.
Step 6: Save the Autoresponder
Once you’ve completed the message, click on the “Save” button. Your autoresponder will now be successfully created and scheduled based on your selected settings.
After saving, the autoresponder will automatically send emails according to the defined schedule, helping you maintain consistent communication with your users without manual follow-ups.
