Click on New E-Pin sub menu to add and view all the E-Pins available in the system. Click on Add E-Pin button on the top right corner of window as shown below.

Enter the following details to add New E-Pin
*Amount: Select the amount to be allocated for the E-Pin
*Count: Select the number of E-Pin to be generated.
*Expiry Date: Select the expiry date of E-Pin.
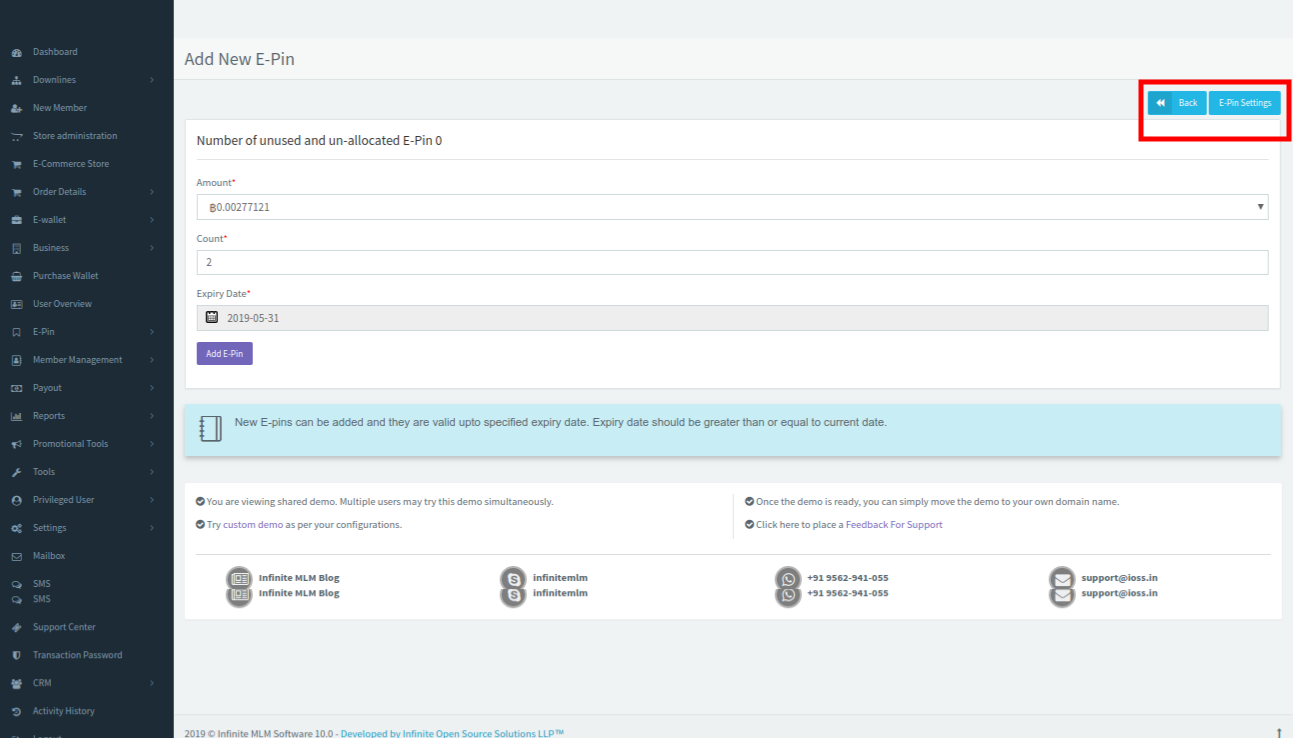
After entering the details, click on Add-Epin. To change the settings of E-Pin, click on E-Pin settings marked in red as shown in the above screenshot. Refer section 19.1.5 to change the settings of E-Pin
After clicking Add E-Pin, the message “ E-Pin added successfully” gets popped up.

![]()
Click on the 4 icons marked in red as shown in the above screenshot to perform the following actions on the added E-Pin.
*Copy– Allows to copy the E-Pin number
*Inactive- Allows you to inactivate the E-pin and inactive E-Pins will be listed under Inactive tab (tab on top right corner of the E-Pin list)
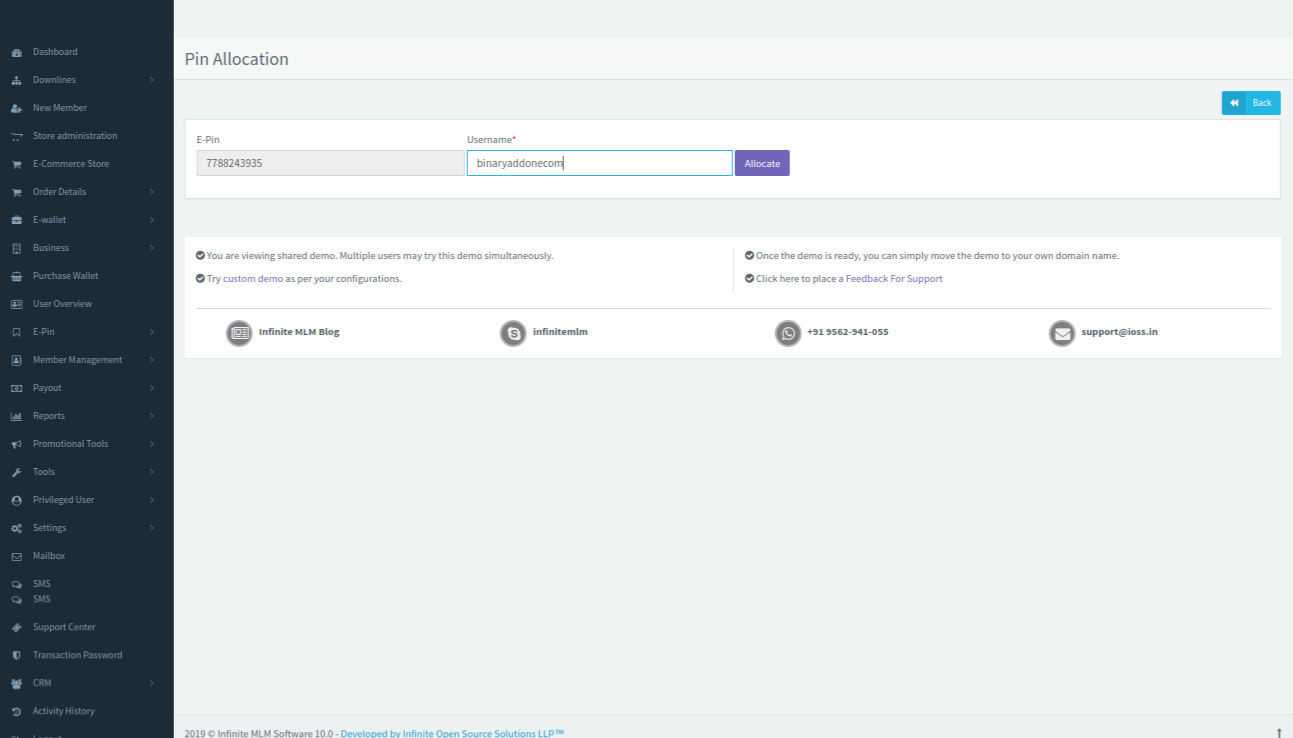
*Allocate- Click on allocate icon to allocate a user to the added E-Pin. Enter the username and click on allocate as shown below.
*Delete– Allows you to delete the added E-Pin from the list.